If you’ve ever experienced the frustration of your phone suddenly turning off and refusing to turn back on, you’re not alone. This issue can be perplexing, but before you start considering purchasing a new device, there are several troubleshooting steps you can try to revive your phone.
In this article, we’ll guide you through the process of troubleshooting and getting your phone back up and running. From checking for physical damage to trying different charging methods and performing software resets, these steps can help you identify and resolve the problem.
So, why did your phone turn off by itself and won’t turn on? Let’s dive in and find out.
Key Takeaways:
- Phone not turning on can be frustrating, but troubleshooting steps can help.
- Try turning on your phone using the power button and check for any physical damage.
- Charging the battery, force restarting, and restoring to factory settings are some troubleshooting options.
- If all else fails, seeking professional repair services or DIY repair options can be considered.
- Remember to back up your data before attempting any major fixes.
Step 1: Try to Turn on Your Phone
If you’re experiencing the frustrating issue of a phone that won’t turn on, the first step in troubleshooting is to try turning it on using the power button. Press the power button firmly and hold it for a few seconds to see if the device responds.
If your phone is still functioning, you may feel a vibration or hear sounds indicating that it’s powering on. However, there are instances when the screen remains blank despite the device turning on. In such cases, a replacement display may be necessary to restore functionality.
Before moving on to further troubleshooting steps, make sure to try turning on your phone by pressing the power button and observe any signs of activity.
Step 2: Check For Any Physical Damage
Physical damage can prevent a phone from turning on. It’s crucial to thoroughly inspect the device for any visible damage, even if there are no obvious cracks or breaks. Here are some key aspects to check:
- Cracked screen: Carefully examine the screen for any cracks or damage. Even a small crack can impact the functionality of the phone.
- Battery swelling: Check if the battery appears swollen or bulging. This can indicate a faulty battery that needs to be replaced.
- Water damage: Inspect the phone for signs of water damage, as this can cause it to malfunction. Check inside the SIM card slot for any signs of moisture or corrosion.
If any physical damage is detected, it may require professional repair or replacement. Ignoring physical damage can further worsen the problem and potentially lead to more severe issues.
Remember, even if your phone doesn’t have obvious cracks or breaks, it’s still essential to thoroughly check for any physical damage that may be causing the issue.
Step 3: Try Charging the Battery
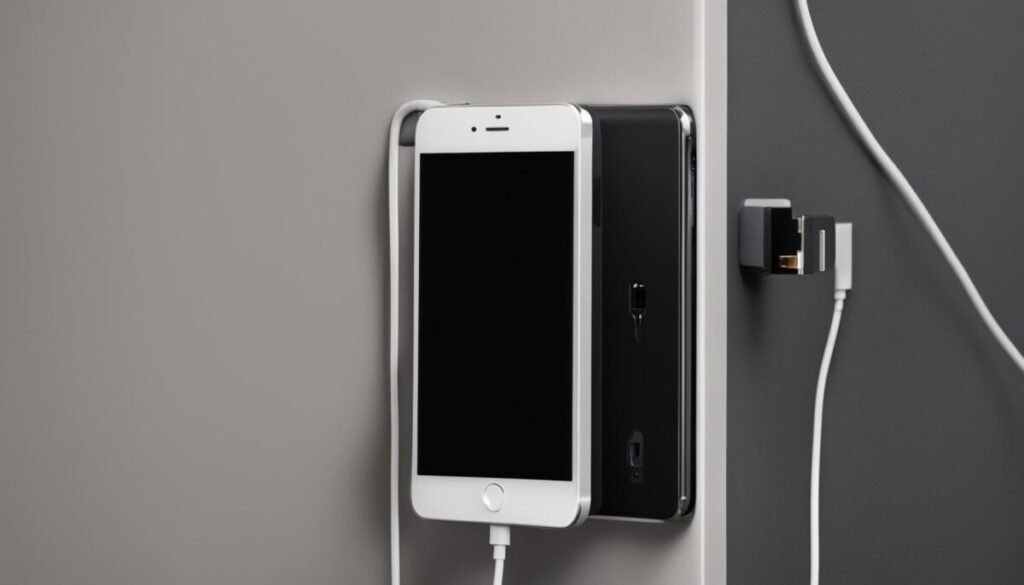
If there is no physical damage to your phone, the next troubleshooting step is to try charging the battery. It is possible that the battery is drained and needs to be recharged. Follow these steps to charge your phone:
- Connect your phone to a charger using the charging cable that came with your device.
- Ensure that the charger is connected to a working power source.
- Check if there are any signs that your phone is charging, such as a charging icon or LED light.
If your phone does not respond to charging, it could indicate a problem with the charger or the charging port. Here are some additional troubleshooting steps you can take:
- Inspect the charger for any visible damage, such as frayed cables or bent pins.
- Try using a different charger or power source to see if the issue is with the charger itself.
- Check the charging port on your phone for debris or any obstructions. Use a small, non-metal object to gently remove any debris while being careful not to damage the charging port.
| Problem | Possible Solution |
|---|---|
| The battery is drained. | Connect your phone to a charger and ensure it is connected to a working power source. |
| The charger is damaged. | Inspect the charger for visible damage and try using a different charger. |
| The charging port is obstructed. | Check the charging port for debris and use a non-metal object to remove any obstructions. |
By following these steps, you can troubleshoot and resolve common issues related to charging the battery. If your phone still does not turn on after attempting these solutions, proceed to the next troubleshooting step to further diagnose and resolve the problem.

Step 4: Do a Force Restart
If your phone appears to be experiencing a software malfunction or a frozen screen, performing a force restart may help resolve the issue. This process is especially useful when the screen remains black while the phone is still powered on. The steps to force restart your phone may vary depending on the device model and manufacturer. However, it usually involves pressing specific buttons simultaneously to trigger a restart.
Performing a force restart can help clear any temporary software glitches or conflicts that may be causing the frozen screen or software malfunction. It is a safe troubleshooting method that does not delete any of your data or settings. If successful, this simple yet effective solution can bring your phone back to normal operation without the need for advanced technical interventions or repairs.
Note: Please refer to your device’s user manual or the manufacturer’s website for specific instructions on how to perform a force restart for your particular model.
Step 5: Restore Your Phone to Factory Settings
If all else fails, restoring your phone to its factory settings may be necessary to resolve certain software issues. However, please note that this action will erase all data on your device, so it should be considered as a last resort. It is essential to have a backup of your phone’s data before proceeding with a factory reset.
To restore your phone to factory settings, follow these steps:
- iPhone: Go to the Settings app, tap on “General,” then select “Reset.” Choose the “Erase All Content and Settings” option to initiate the factory reset process.
- Android: Open the Settings app, navigate to “System,” then tap on “Reset options.” Select “Erase all data (factory reset)” to begin the factory reset procedure.
After initiating the factory reset, follow the on-screen instructions to complete the process. Once the reset is finished, your phone will be restored to its original factory settings.
Remember, restoring your phone to factory settings should only be done if other troubleshooting methods have failed to resolve the issue. It is crucial to have a backup of your data to prevent any data loss.
Here is an image illustrating the process of restoring a phone to factory settings:

Step 6: Re-Flash the Firmware From Scratch
If the phone is still unresponsive after restoring to factory settings, re-flashing the firmware from scratch may help. This process involves entering lower-level modes on the phone to reinstall the firmware. DFU mode is used for iPhones, while Android Debug Bridge is used for Android phones. Performing these steps can be complex and may require professional assistance from a repair shop.
Re-flashing the firmware is a potential solution for resolving software malfunctions and persistent issues with unresponsive phones. It allows for a clean installation of the operating system, restoring the phone to its original state.
Step 7: How to Get Your iPhone or Android Device Repaired
If all attempts to revive the phone on your own have failed, it may be necessary to seek professional repair services. Whether you have an iPhone or an Android device, there are reliable options available to get your device repaired and up and running again.
iPhone Repair Options
For iPhone users, Apple offers repair services that cover various issues, including screen repairs and accidental damage. Apple’s repair service is known for its quality and professionalism, ensuring that genuine parts are used to maintain device compatibility and performance. In addition, AppleCare+ provides extended warranty coverage and additional benefits for your iPhone, offering added peace of mind.
Android Device Repair Services
Android device manufacturers also provide repair services for their products. Whether you have a Samsung, Google Pixel, or any other Android device, you can reach out to the manufacturer for assistance with repairs. Authorized service centers are equipped to handle hardware and software issues, ensuring that your device is repaired by trained professionals who have access to genuine parts.
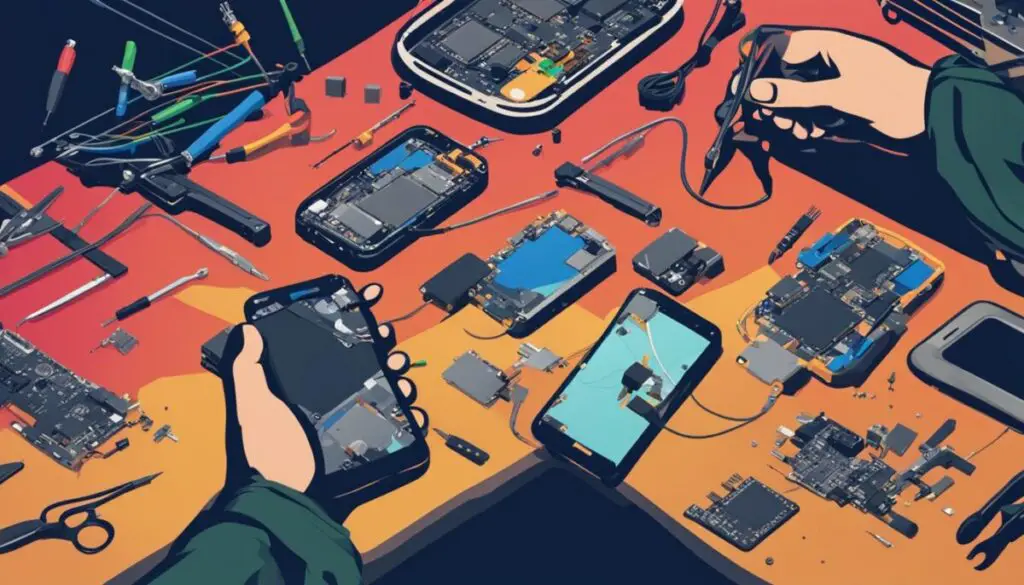
Alternatively, if you prefer a do-it-yourself approach or want more affordable repair options, platforms like iFixit offer extensive repair guides and tools for various devices. iFixit’s step-by-step tutorials and community forums provide resources to help you navigate through common repairs and troubleshoot issues effectively.
Regardless of the repair option you choose, it is crucial to use genuine parts to avoid compatibility issues and maintain the performance and durability of your device.
Below is a comparison table summarizing the different repair options for iPhone and Android devices:
| Repair Options | Advantages |
|---|---|
| Apple iPhone Repair |
|
| Android Device Manufacturer Repair |
|
| iFixit and DIY Repair |
|

When choosing a repair service, consider factors such as the device’s warranty status, the extent of the damage, and your personal preference for cost and convenience. It’s important to weigh the advantages and disadvantages of each repair option to make the best decision for your needs.
Additional Tips and Troubleshooting Options
In addition to the troubleshooting steps mentioned above, there are other tips and options to consider when dealing with a phone that won’t turn on. These include:
1. Checking for Water Damage
Water damage can cause a phone to malfunction and not turn on. If your phone has been exposed to water or any other liquid, it’s important to check for signs of damage. Look for water indicators inside the SIM card slot or charging port. If water damage is detected, it may be necessary to seek professional assistance or contact the manufacturer for repairs.
2. Cleaning the Charging Port
A dirty or faulty charging port can prevent your phone from turning on. Over time, lint, dust, or debris can accumulate in the charging port, obstructing the connection. Gently clean the charging port using a soft brush or compressed air to remove any dirt or debris. This can help restore the functionality of the charging port and allow your phone to charge properly.
3. Entering Safe Mode
Safe mode allows you to troubleshoot issues with third-party apps that may be causing your phone to not turn on. By entering safe mode, you can temporarily disable all third-party apps and determine if one of them is causing the problem. To enter safe mode, follow the specific instructions for your phone model, usually by pressing and holding certain buttons during the boot-up process.
4. Checking for Physical Damage or Corrosion
Inspect your phone for any hidden physical damage or corrosion. Even minor damage or corrosion can affect the phone’s functionality and prevent it from turning on. Look for cracks, dents, or signs of corrosion on the exterior of the phone. Additionally, remove the battery (if possible) and inspect it for any swelling or damage. If you notice any physical damage or corrosion, it may be necessary to seek professional repair services.
By following these additional tips and troubleshooting options, you can increase the chances of identifying and resolving the underlying issue causing your phone to not turn on. Remember to always exercise caution and, if needed, consult a professional for assistance.
Conclusion
Troubleshooting a phone that won’t turn on can be a frustrating experience, but there are various steps and options available to revive your device. Whether it’s checking for physical damage, trying different charging methods, or performing software resets, these troubleshooting steps can help identify and resolve the problem.
If all else fails, don’t worry. There are still options available to revive your phone. Seeking professional repair services can provide expert assistance and ensure your device is in capable hands. Alternatively, you can explore DIY repair options through platforms like iFixit, which provide guides and resources to help you fix your phone yourself.
Remember, no matter what troubleshooting option you choose, it is always important to back up your data before attempting any major fixes. This way, you can prevent any potential data loss and ensure that your valuable information is secure.
FAQ
Why did my phone turn off by itself and won’t turn on?
There could be several reasons for this issue, including physical damage, drained battery, software malfunction, or firmware corruption. Follow the troubleshooting steps provided to determine the cause and find a solution.
What should I do if my phone won’t turn on?
If your phone is unresponsive and won’t power on, try the following steps: check for physical damage, try charging the battery, perform a force restart, restore the phone to factory settings, or re-flash the firmware from scratch. If these steps fail, seek professional repair services.
How can I try to turn on my phone?
To try turning on your phone, press the power button and check for vibrations or sounds that indicate it is functioning. If the screen is blank, it may require a replacement display.
What should I do if I find physical damage on my phone?
If you find physical damage such as a cracked screen, swollen battery, or water damage, it may prevent your phone from turning on. Inspect the phone thoroughly and consider repair or replacement options based on the severity of the damage.
How can I troubleshoot a drained battery?
If your phone is not responding, try charging the battery using different chargers or power sources. Clean the charging port from any debris and ensure that the charger and charging port are not damaged. If the phone still doesn’t respond, there may be a battery or charging-related issue that requires professional assistance.
How can I perform a force restart on my phone?
To force restart your phone, press and hold specific buttons simultaneously, depending on the type of phone you have. This can help resolve issues with a black screen while the phone is still powered on.
What should I do if my phone is not responding even after a force restart?
If your phone remains unresponsive, try restoring it to its factory settings. Keep in mind that this action will erase all data on the device, so it’s important to have a backup before proceeding. The process for restoring to factory settings differs between iPhone and Android devices, but both offer options to perform this action.
How can I re-flash the firmware from scratch on my phone?
Re-flashing the firmware involves entering lower-level modes on your phone and reinstalling the software. For iPhones, you can use DFU mode, while Android phones use Android Debug Bridge (ADB). This process can be complex and may require professional assistance.
Where can I get my iPhone or Android device repaired?
If all attempts to revive your phone have failed, it’s recommended to seek professional repair services. Apple provides repair options for iPhones, including screen repairs and other accidental damage. Android device manufacturers also offer repair services, and DIY repair options are available through platforms like iFixit.
What are some additional tips and troubleshooting options I can try?
In addition to the provided steps, you can check for water damage, clean the charging port, enter safe mode to disable third-party apps, and inspect for any hidden physical damage or corrosion. These steps can help identify and resolve the underlying issue.
How can I troubleshoot a phone that won’t turn on?
Troubleshooting a phone that won’t turn on can be a frustrating experience. Follow the steps provided in this article, from checking for physical damage to trying different charging methods and performing software resets. If all else fails, seek professional repair services or explore DIY repair options.
